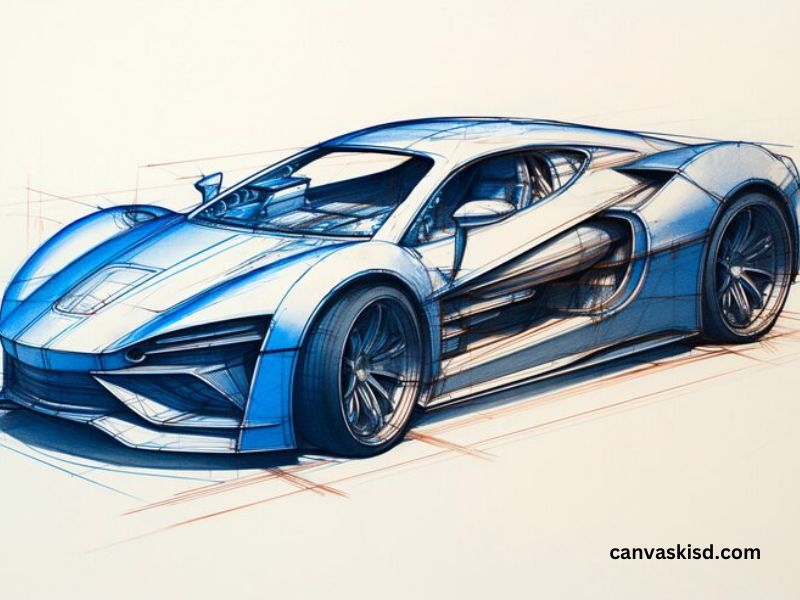
Drawing a car can be a rewarding experience, whether you’re an aspiring artist or just looking for a fun way to express your creativity. This guide will take you through the process step by step, ensuring that by the end, you have a detailed and dynamic car drawing. Let’s dive in!
Materials You’ll Need
Before you start, gather the following materials:
- Pencil: For sketching outlines and details.
- Eraser: To correct mistakes as you go.
- Paper: Any type will do, but sketch paper is ideal.
- Fine-liner Pens or Markers: For outlining.
- Colored Pencils or Markers: For adding color to your drawing.
- Ruler: For drawing straight lines.
Understanding Car Shapes
Cars come in various shapes and sizes, but most share common elements. Familiarize yourself with basic car shapes:
- Overall Structure: Cars generally have a long body, two sections (the hood and the trunk), and a cabin where the passengers sit.
- Wheels: Cars typically have four wheels, which should be proportionate to the body.
- Windows and Doors: These are essential features that can vary significantly based on the type of car.
Step 1: Sketching the Outline
Basic Shapes
Start by lightly sketching the basic shapes of the car. Use simple geometric forms:
- Rectangle: Draw a rectangle for the main body of the car.
- Circles: Add two circles at the bottom for the wheels.
- Additional Shapes: Use smaller rectangles or trapezoids for the hood, trunk, and cabin.
Refine the Outline
Once you have the basic shapes, start refining the outline:
- Curve the Corners: Cars are rarely composed of straight lines. Use gentle curves for the body and fenders.
- Define the Roof: Depending on the car type (sedan, coupe, SUV), adjust the height and angle of the roof.
Step 2: Adding Details
Front and Back
- Headlights: Draw ovals or rectangles on the front for headlights. Add details like the inner reflectors.
- Grille: Sketch the grille below the headlights, making sure to add some lines to suggest depth.
- Taillights: For the rear, draw the taillights, which can be rectangular or round, depending on the car design.
Windows
- Windshield: Draw a large, slanted rectangle for the windshield.
- Side Windows: Add rectangles or trapezoids for the side windows, ensuring they fit within the cabin space.
Doors and Handles
- Doors: Indicate where the doors would be. Use lines to separate them from the body.
- Handles: Add small circles or rectangles for door handles.
Wheels and Tires
- Wheels: Refine the circles for the wheels, making them slightly wider for tires.
- Tread Patterns: Add details to the tires to suggest texture and tread.
Step 3: Finalizing the Sketch
Once you’re satisfied with the details, go over the outline with a fine-liner pen or a darker pencil to solidify the lines. Erase any unnecessary guidelines and pencil marks.
Step 4: Adding Color
Choosing Colors
Select colors based on the car’s design:
- Body Color: Choose a color for the body. Popular choices include red, blue, and black.
- Details: Use silver or gray for the grille, headlights, and wheel rims.
Coloring Technique
- Base Layer: Start with a base layer of color. Use even strokes for a uniform appearance.
- Shading: Add darker shades to areas that would be in shadow (like the underside of the car or around the wheels).
- Highlights: Use a lighter color or white to add highlights on shiny surfaces, like the roof and hood.
Step 5: Adding Background and Context
To give your car drawing more context, consider adding a background:
- Road: Draw a simple road beneath the car. Use lines to suggest lanes.
- Landscape: Add trees, buildings, or a sunset to give a sense of place. This can enhance the overall composition of your drawing.
Tips for Improvement
- Study Reference Images: Look at photos of real cars to understand proportions and details.
- Practice Different Styles: Experiment with different car types and styles (sports cars, vintage cars, etc.).
- Seek Feedback: Share your work with others to gain constructive criticism.
Conclusion
Drawing a car requires patience and practice, but following these steps can make the process enjoyable. Remember, every artist has their unique style, so don’t be afraid to make it your own. With time and practice, you’ll develop your skills and create stunning car illustrations. Keep drawing, and most importantly, have fun with it!


